How to Launch a Campaign
There are two different ways of launching a campaign:
- Create New Campaign
- Clone Existing Campaign
Create New Campaign
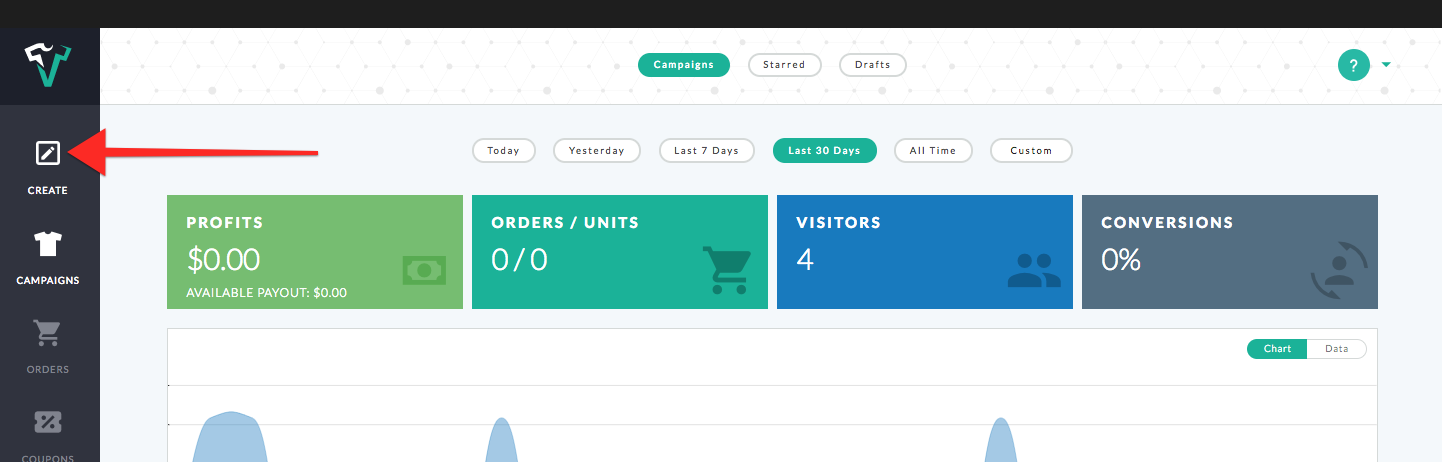
- To create a New Campaign Log into your Viralstyle Account. On the dashboard, select “Create” from the side bar menu. This will take you to the Designer.
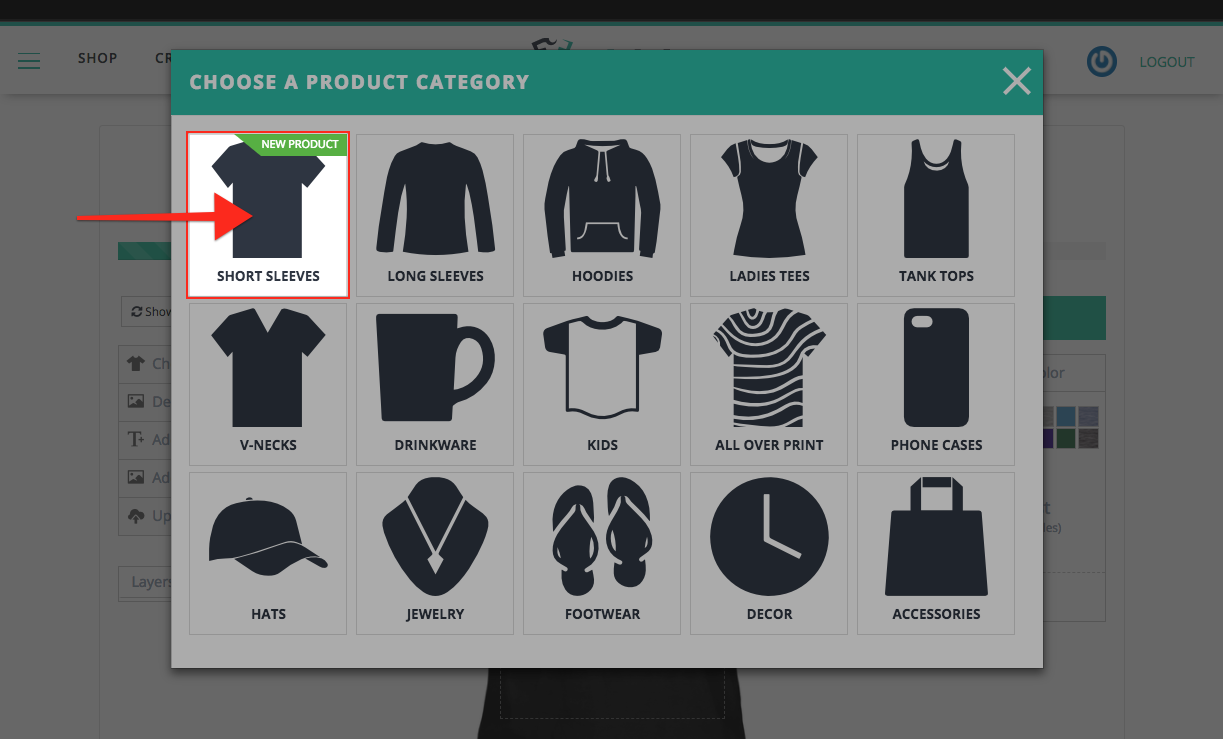
- You’ll see a pop up menu with all the product categories. Select the product tagged in the Asana card. After choosing the product you’ll move on to the Designer.

- You can add a design by clicking on the “ Upload Image” button in the left side menu or by clicking and dragging the file on to the designer window.

- Adjust the placement and scale/size. You can use the vertical and horizontal alignment toggles on the top right hand side of the design file adjustment frame.
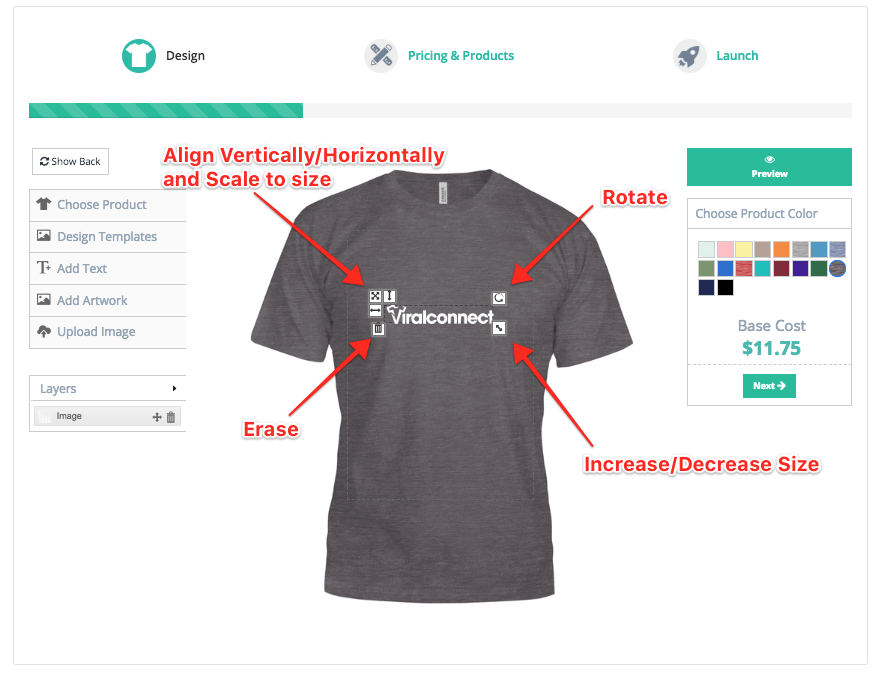
- Select your primary color. Click “Next”.
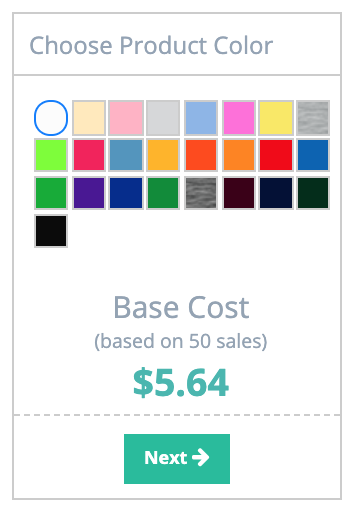
- Choose pricing and color variations for your default product.

- Click on “Add Additional Products”. A pop up menu will appear with the products available for this particular campaign. Once you’ve made your selections, they’ll appear below on the page.
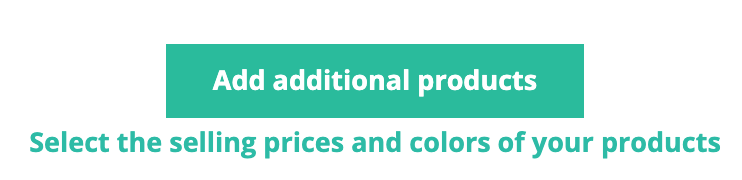
- Choose Selling Price and color options for additional products. You can add 10 colors per product and no more than 50 colors across all products.
- Click Next.

- Title - This is the name of the campaign. It will be the same as the Card Title in Asana. It should always describe clearly the design.
- Description - A small description must be added describing the design and title. This will help with the marketplace search and marketing efforts. For example, if the design is baseball related, the description would be:
“This Top Hitter Baseball tee is fun and perfect for your game or as a gift.”
Here's some additional text you can use in the description with basic information:
“100% Designed and Printed, in the US • Ships Worldwide!
HOW TO ORDER?
1. Select your preferred style, color, size and quantity.
2. Click to ADD TO BAG.
3.GUARANTEED SAFE & SECURE CHECKOUT.
**Order 2 or more and SAVE on SHIPPING!**
Sometimes, a call to action and URL will be added at the bottom to direct the buyer to a specific collection/store.
- URL: The URL will pull the campaigns title by default, but you can update if necessary.
- Categorize Your Campaign: Make it easier for potential buyers to find your campaign in our Marketplace or to add to a collection.
- Tags: Allows you to automatically add campaigns to a storefront with a specific tag. This also helps with the marketing efforts.
- Email List: You won’t be using this feature. This is used by sellers to market their campaigns.
- Campaign Length: Decide how long the campaign will be available for. This cycle will repeat if you leave your Advanced Settings on "Auto". Usually, we set it between 3-4 days.
- Upsell: You will add 2 upsells to this campaign. These will increase average order values by 5-15% without any extra work. You can choose to upsell the same campaign or another launched campaign.
You can attach up to 2 upsell products to each campaign. When a customer successfully makes a purchase and reaches the "thank you" page, the upsells will appear in a pop-up. The customer can then choose additional products and add them to cart, using their shipping and payment information already added.
Advanced: Hover above the "?" for more information on each advanced setting. By default, advanced settings are evergreen. This means that they'll relaunch or extend automatically. The Sales Page Timer and Show Goal buttons should always be in the Off position.
- Lastly, agree to the Terms and conditions by checking the box and click on Launch. After launching the campaign you’ll be redirected to the campaign’s Details Page. From here you’ll copy the campaign URL and add it to the corresponding card in asana.
Clone An Existing Campaign
Cloning is creating a duplicate from an existing campaign. This is done when a campaign:
- Belongs to a series (years, titles, etc)
- Has a similar design (Same colored design, product and color offerings)
Cloning a campaign saves time and speeds up the launch process. To Clone a campaign log into your Viralstyle Account. By default you’ll be in the Campaigns page.
Scroll down and find the campaign you want to Clone. Once found, click on the campaigns Option menu (•••). A sliding menu will appear and select “Clone”.
This will be very similar to the Create New Campaign process. The pop up menu with all the product categories will appear. You can either choose a new product, or close the menu by clicking on the X in the top left corner of the pop up window.
Before you add a new design file you must delete the existing design file. You can do that by:
- Clicking on the trash can Icon in the layers menu (Right hand menu, bottom)
- Clicking on the trash can toggle in the design file frame.

